Incra Wonder Fence
and
Woodpeckers Router Table Extension Wing (21" left
side)
by
Bill Esposito
10 October 2003

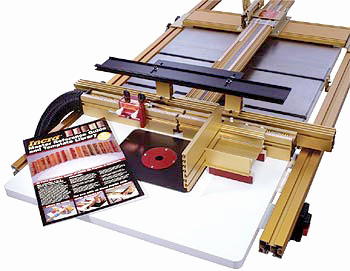
If you own an Incra TS-III Precision Table Saw Fence System one option
you may wish to consider is a router table wing and fence for your table
saw. For those who are shop space challenged installing your router in
the space already occupied by your table saw extension wing may be just
what you need to free up valuable floor space for that planner or jointer
you've been wanting.
Woodpeckers Inc.(www.woodpeck.com)
sells a variety of router table extension wings (RTEW) to fit your needs
as well as Incra's Wonder Fence precision router fence system. In this
article we'll take a look at the 21" left side RTEW with phenolic
insert and the #WFULTRA version of the Wonder Fence. Thanks to Woodpecker's
and Incra for providing these items for review.
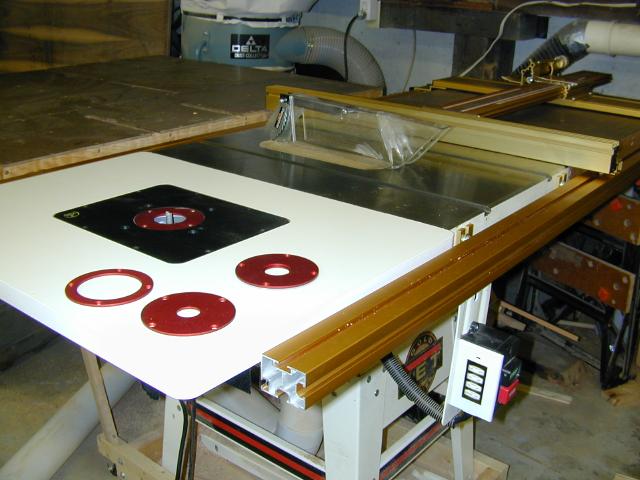
What's in the box?
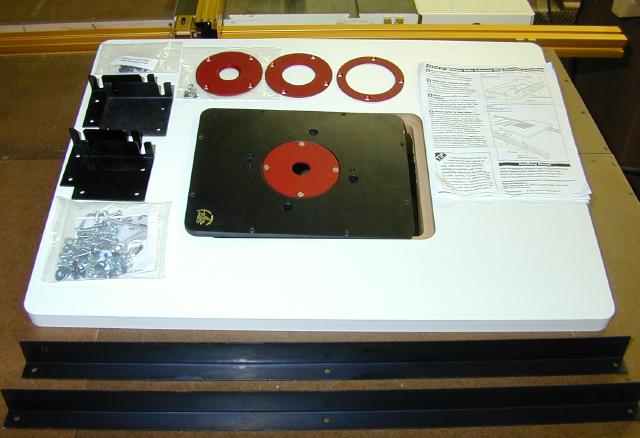 Let's
begin with the RTEW. We are installing our table on the left side
of the saw. The table itself is 21"x28" and is constructed
from 1" thick MDF which is laminated both sides with a matte white
high pressure laminate which brings the final thickness to 1 1/8th inches.
The table is edge banded with white plastic edging. Included in
the package are four brackets to be used to mount the RTEW to the TS-III
rails, phenolic insert with four aluminum spacer rings, stiffener rails,
hardware and instructions.
Let's
begin with the RTEW. We are installing our table on the left side
of the saw. The table itself is 21"x28" and is constructed
from 1" thick MDF which is laminated both sides with a matte white
high pressure laminate which brings the final thickness to 1 1/8th inches.
The table is edge banded with white plastic edging. Included in
the package are four brackets to be used to mount the RTEW to the TS-III
rails, phenolic insert with four aluminum spacer rings, stiffener rails,
hardware and instructions.
Installation:
The installation is quite simple and shouldn't take you more than an hour,
if even that. The first step is to remove the left wing of your table saw.
I installed the RTEW on a Jet contractors saw. Since I had previously installed
the TS-III rails exactly per instructions, they did not have to be adjusted
at all for this installation.
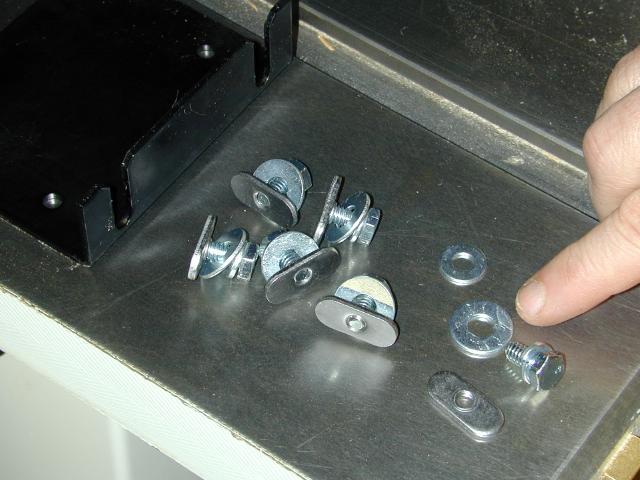
 Once the extension
wing is removed, mount the RTEW brackets to the rails (black bracket in
photo at left). This is accomplished by using the supplied T-nuts. The
hardware kit contains two sizes of washers, choose the larger ones for
this operation (left). Just assemble the hardware, slide four sets into
the channel on both the front and back rails slip the brackets onto the
hardware behind the washers (right).
Once the extension
wing is removed, mount the RTEW brackets to the rails (black bracket in
photo at left). This is accomplished by using the supplied T-nuts. The
hardware kit contains two sizes of washers, choose the larger ones for
this operation (left). Just assemble the hardware, slide four sets into
the channel on both the front and back rails slip the brackets onto the
hardware behind the washers (right).
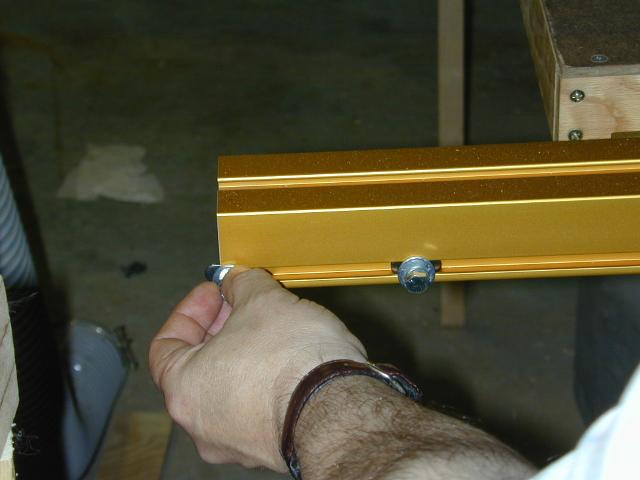
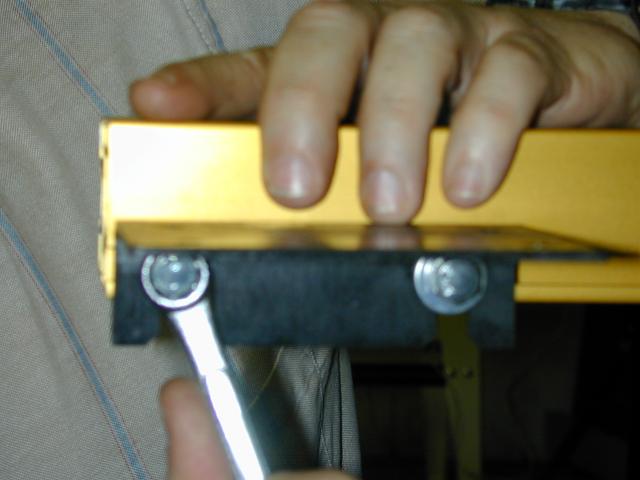 Align
the outer brackets with the end of the rail and snug but don't tighten
(left). Position the inner brackets about 2" from the saw table and
again snug but don't tighten. These may have to be moved a bit left or
right to avoid interference with the stiffeners we are going to install
next and also moved vertically to level the table.
Align
the outer brackets with the end of the rail and snug but don't tighten
(left). Position the inner brackets about 2" from the saw table and
again snug but don't tighten. These may have to be moved a bit left or
right to avoid interference with the stiffeners we are going to install
next and also moved vertically to level the table.
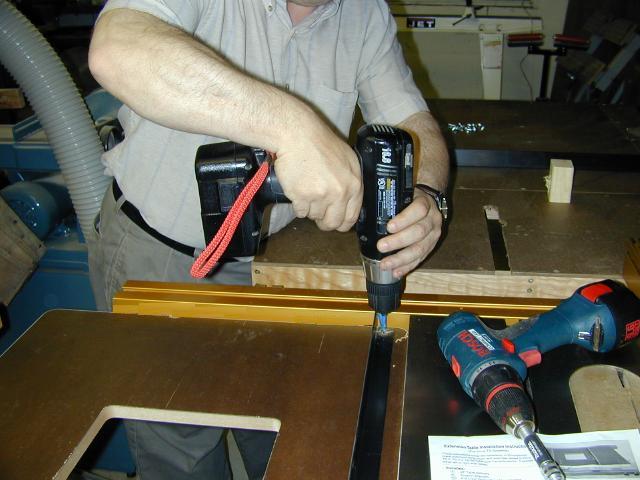 The insert
cutout is off-centered in the table. Place the table upside down on the
brackets with the widest part of the insert offset towards the left or
outside of the saw. Place one stiffener bar about an inch from the left
side of the table and drill pilot holes for the screws (right). I used
some blue tape on my drill bit to set the depth of the holes and to assure
that I didn't drill all the way through. Once the holes are drilled you
can screw down the stiffener.Do the same for the other stiffener placing
it about an inch or so to the outside of the left edge of the insert cutout.
The insert
cutout is off-centered in the table. Place the table upside down on the
brackets with the widest part of the insert offset towards the left or
outside of the saw. Place one stiffener bar about an inch from the left
side of the table and drill pilot holes for the screws (right). I used
some blue tape on my drill bit to set the depth of the holes and to assure
that I didn't drill all the way through. Once the holes are drilled you
can screw down the stiffener.Do the same for the other stiffener placing
it about an inch or so to the outside of the left edge of the insert cutout.
You may now have to adjust the bracket or stiffener locations to avoid
interference. Once the stiffeners are installed, flip the table over.
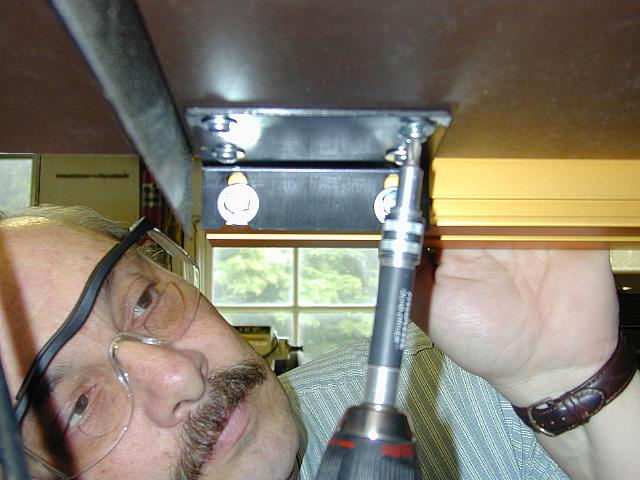 The last step you'll need your
drill for is attaching the brackets to the underside of the table. From
this vantage point make sure the brackets and stiffeners don't interfere
with each other and then again use some tape as a depth guide on your bit
and drill your pilot holes. I drilled one pilot hole per bracket and secured
each with a screw, made sure everything looked ok, and then went back and
finished the bracket installation (left).
The last step you'll need your
drill for is attaching the brackets to the underside of the table. From
this vantage point make sure the brackets and stiffeners don't interfere
with each other and then again use some tape as a depth guide on your bit
and drill your pilot holes. I drilled one pilot hole per bracket and secured
each with a screw, made sure everything looked ok, and then went back and
finished the bracket installation (left).
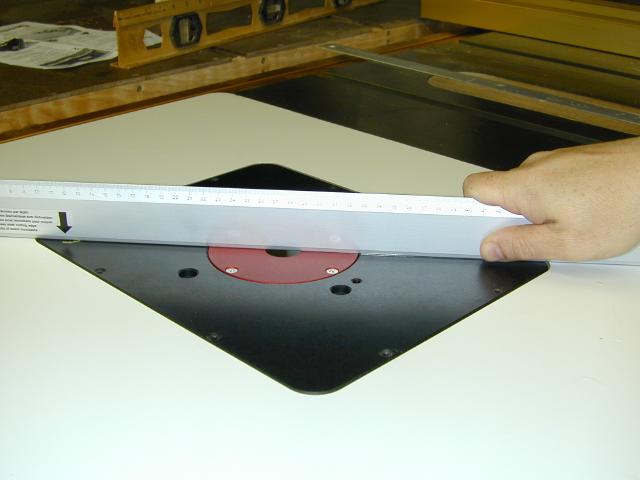
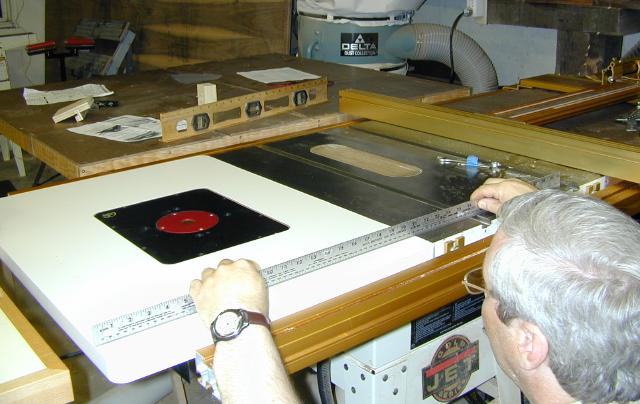 Now we can fix
the final position of the table and brackets. I used a 36" rule and
set the table level, front and back, to my saw's table (right). Also at
this time make sure that the RTEW is flush up against your table saw.
Now we can fix
the final position of the table and brackets. I used a 36" rule and
set the table level, front and back, to my saw's table (right). Also at
this time make sure that the RTEW is flush up against your table saw.
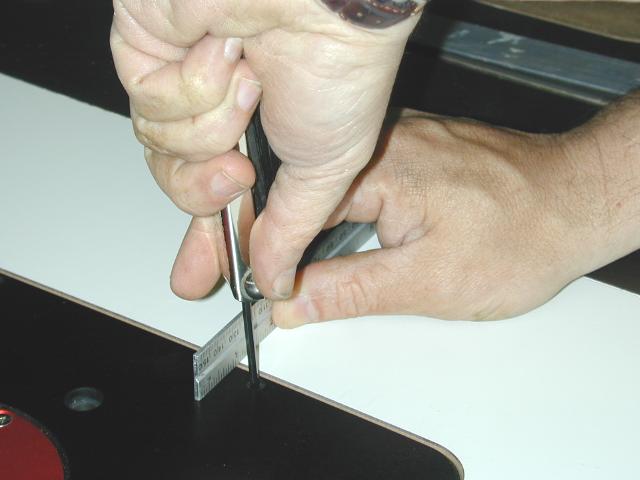
 It is possible that
your table is not exactly flat and sags. Check for this using your
straight edge as shown at left. If the table does sag a bit, simply
loosen the middle screw on the stiffener and insert a spacer like a piece
of card stock which is about the thickness of the sag. Once you
retighten the screw the spacer will force the table flat. The detailed
directions for this operation are included in the instructions.
I did not have to adjust my table in this manner as it was flat.
It is possible that
your table is not exactly flat and sags. Check for this using your
straight edge as shown at left. If the table does sag a bit, simply
loosen the middle screw on the stiffener and insert a spacer like a piece
of card stock which is about the thickness of the sag. Once you
retighten the screw the spacer will force the table flat. The detailed
directions for this operation are included in the instructions.
I did not have to adjust my table in this manner as it was flat.
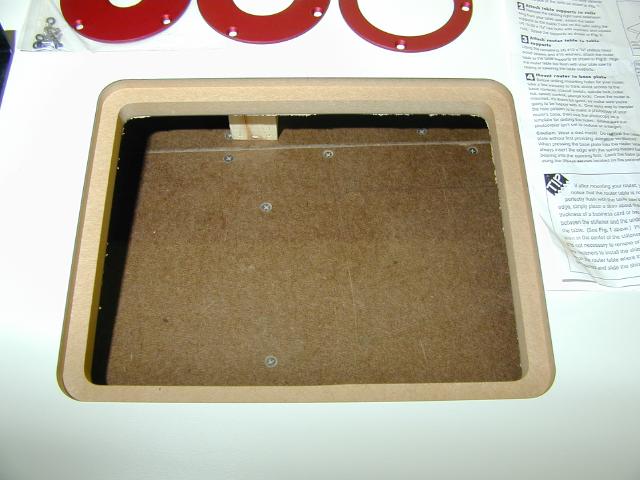 The router insert coutout opening is 8.25"x10.75"
with the size of the insert being an inch larger at 9.25"x11.75".
This is more than large enough to take my Triton which measures 12"
handle to handle.
The router insert coutout opening is 8.25"x10.75"
with the size of the insert being an inch larger at 9.25"x11.75".
This is more than large enough to take my Triton which measures 12"
handle to handle.
 The
3/8" black phenolic insert rests on a rabbet in the MDF table top
(above). To facilitate leveling, the insert has 8 leveling set screws.
Adjust each a little at a time and remember that when you adjust one screw
to raise the insert, the opposite side often gets lower so you have to
go back and forth until you get the insert level and stable.
The
3/8" black phenolic insert rests on a rabbet in the MDF table top
(above). To facilitate leveling, the insert has 8 leveling set screws.
Adjust each a little at a time and remember that when you adjust one screw
to raise the insert, the opposite side often gets lower so you have to
go back and forth until you get the insert level and stable.
With the RTEW installed let's hold off on installing the router until
after we finish the Wonder Fence.
[Next Page]
[Home]